How to Use AI Image Upscaler Basic: The Professional’s Playbook
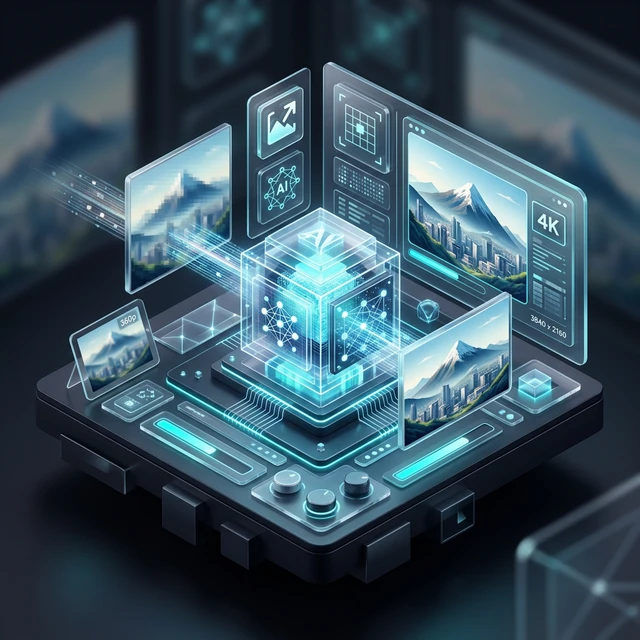
AI image upscaling is useful when a file needs to look cleaner, sharper, and more usable without a complicated editing workflow. AFFLIGO’s AI Image Upscaler Basic is designed for quick browser-based enhancement, so you can upload an image, choose your settings, process it locally, and export the result without sending the file to the cloud. This guide explains the process in a practical way so you can get better output with less trial and error.
Table of Contents
What the Upscaler Does
The upscaler improves image size while trying to preserve visual quality. Instead of simply stretching pixels, it uses smarter enhancement logic to produce a cleaner result. That makes it useful for portraits, product images, old photos, and graphics that need to look more polished after enlargement. The most important thing to remember is that a better source image still gives the best final result.
| Action | What It Does | Why It Matters |
|---|---|---|
| Upload | Adds your image to the browser-based workspace | Starts the enhancement process |
| Configure | Lets you choose scaling and enhancement options | Helps match the output to your goal |
| Process | Applies AI-based enlargement locally | Keeps the workflow fast and private |
| Export | Downloads the improved file in a usable format | Lets you use the result immediately |
Getting Started with AI Upscaling
Start by opening the tool and selecting an image that actually needs enlargement. Small, noisy, or soft files usually benefit the most. If the image is already large and sharp, upscaling may not add much value. A good workflow begins with deciding whether the image needs recovery, presentation-level sharpness, or just a modest size increase.
Step-by-Step AI Upscaling Process
Step 1: Image Upload and Analysis
Upload your image through the browser interface. Check the file type, size, and source quality before processing. If you have several similar images, group them by project so you can work more efficiently.
Step 2: Upscaling Configuration
Choose the scaling level and the enhancement options that match your goal. Stronger settings may improve detail, but they can also make the output look too aggressive if the original image is already fairly clean.
Step 3: AI Processing and Enhancement
Run the process and let the model handle the enlargement. The AI will analyze edges, textures, and visual structure before producing the improved result.
Step 4: Quality Validation and Export
Check the final output before exporting it. Compare the before and after versions, confirm that the detail is acceptable, and then download the file in the format you need.
Simple AI Upscaler Workflow
1. Upload the image
2. Choose the settings
3. Process locally in the browser
4. Export the final result
Quality Control and Optimization
Good upscaling is not only about making the image larger. It is also about preserving the parts that matter. Check for edge softness, unnatural smoothing, color shifts, and over-sharpening. If the image looks too processed, reduce the intensity. If it still feels soft, use a slightly stronger setting. The goal is balance, not maximum strength.
| Quality Area | What to Check | Best Practice |
|---|---|---|
| Sharpness | Edges and small details | Avoid excessive sharpening |
| Noise | Grain and compression artifacts | Use moderate denoise settings |
| Color | Tone and saturation | Keep adjustments natural |
| Output Format | File type and compatibility | Export in the format that fits the final use |
Troubleshooting Common Issues
If the file does not process correctly, check whether the image format is supported and whether the file is too large. If the result looks too soft, increase the enhancement level slightly. If the result looks too artificial, reduce sharpening or denoise intensity. Most problems come from settings that are too strong or source files that are already compressed heavily.
Mobile and Browser-Based Solutions
One of the main benefits of the basic version is that it works in the browser. That makes it easy to use on different devices without installing extra software. It also means the workflow is simpler for users who want a quick enhancement without a long setup process. For many people, this convenience is just as important as the quality improvement itself.
Integration with Creative Workflows
The tool fits well into creative workflows because it can be used early in the editing process. You can upscale an image before placing it in a design, product page, portfolio, or content asset. That helps reduce rework later and keeps the visual quality more consistent across projects.
Master AI Image Upscaler Basic Today
Use the browser-based workflow to improve image quality quickly and keep your files private.
Open AI Upscaler →Expert FAQ: AI Image Upscaler Basic
The browser-based upscaler supports JPEG, PNG, and WebP files. You can also export the final image in a compatible format for your workflow.
Start with the best source file you have, then use moderate sharpness and denoise settings. Small adjustments usually work better than pushing every control to the maximum.
Yes. The processing happens locally in the browser, so the images do not need to be uploaded to a remote server after the page is loaded.
Ready to use the AI Image Upscaler Basic?
Fast, secure browser-based upscaling with no installation or sign-up required.
Try the Tool Now